Rising Damp or a Pipe Leak? How to Diagnose and Fix It
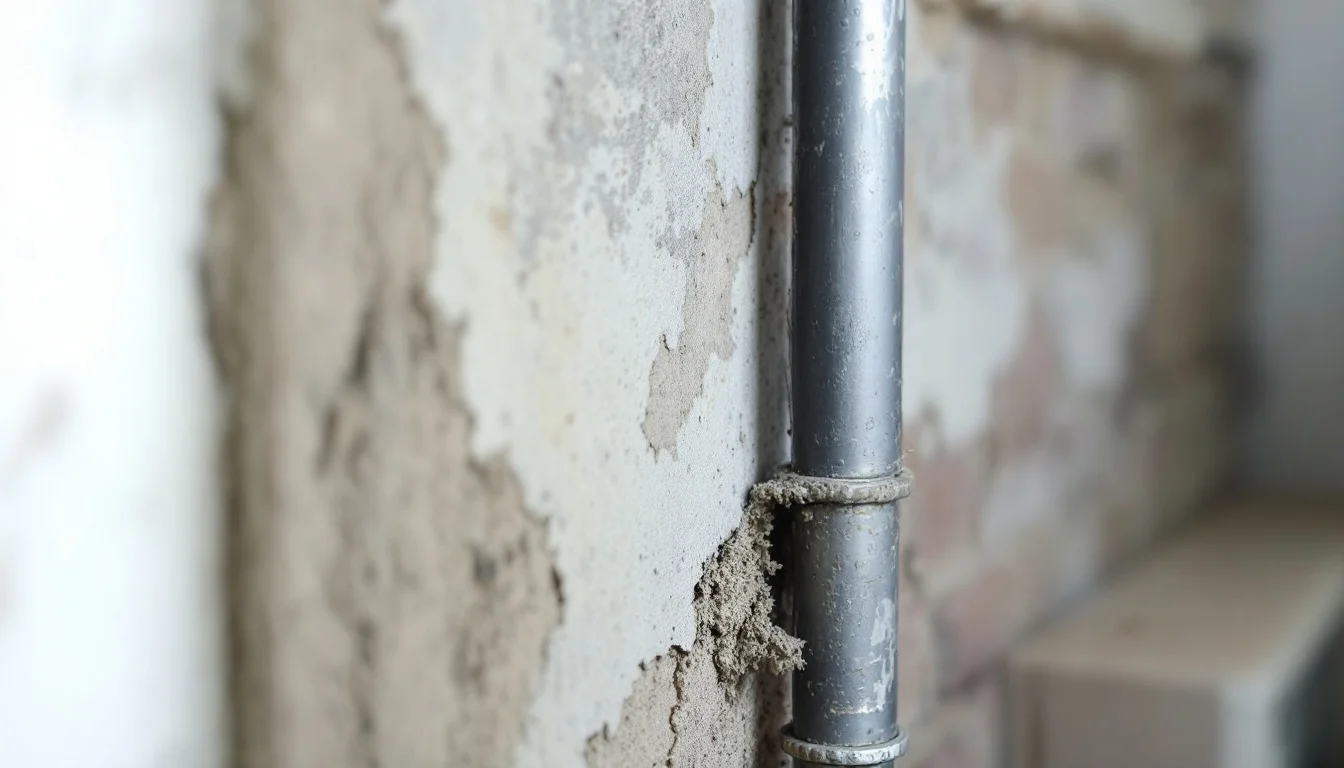
A spreading wet patch at the base of an interior wall is often immediately assumed to be rising damp. For many property owners, the first instinct is to contact a damp-proofing contractor to drill into the masonry and inject chemical barriers. However, treating a wall without verifying the exact source of the moisture is a costly gamble.
Committing to an expensive damp-proof course (DPC) injection will achieve nothing if the actual problem is a failed plumbing joint or poor ventilation. The physical symptoms of these issues frequently overlap, leading to misdiagnosed structural interventions that leave the root cause completely untreated.
Property maintenance requires definitive proof before structural alterations begin. Before applying a fresh coat of paint to hide the unsightly bubbling, and certainly before paying for specialised chemical treatments, homeowners must execute a strict differential diagnosis to isolate the precise mechanism destroying their walls.
Key Takeaways
- Establish the baseline: Moisture meters help establish whether moisture content exceeds normal levels, though thresholds vary significantly depending on whether the building material is wood, brick, or concrete.
- Perform the foil test: Taping aluminium foil to the affected area determines if the moisture originates from inside the room (condensation) or from within the wall (leaks or capillary action).
- Consider the climate context: In dry climates like Lanzarote, local surveyors note that interior wall dampness often stems from hidden pipe leaks rather than genuine rising ground moisture.
- Deploy targeted treatments: Confirmed capillary damp requires a specialised chemical DPC injection, whereas plumbing failures require structural leak detection and pipe repair.
How Do You Tell a Pipe Leak From Rising Damp?
Before calling a specialist, homeowners can utilize a systematic diagnostic protocol to evaluate their masonry. Rather than guessing, isolating the exact water source through targeted DIY testing and baseline measurements is a crucial first step.
Step 1: Establish a Moisture Baseline
Visual assessments alone cannot quantify the severity of a wet wall. Moisture meters help establish whether the moisture content exceeds normal levels for that specific material. Because safe moisture thresholds vary significantly depending on whether the material is wood, masonry, or concrete, abnormally high readings serve as an indicator of an active, problematic damp source rather than residual humidity. There is no universally standardised percentage across all building materials.Step 2: Assess the Height and Location
Rising damp occurs when groundwater travels upward through the porous materials found in a home's foundations and walls by capillary action. These building elements soak up water like a sponge. Because of this mechanism, rising damp primarily affects ground-floor walls and partially buried structures. Look for distinct tide marks; while UK building literature frequently cites an empirical height of around 1 metre, moisture can climb up to 1.5 or 2 metres in highly porous materials or unventilated conditions. The presence of white salt deposits on the wall surface, alongside peeling paint and wallpaper, further supports this diagnosis.Step 3: Perform the Foil Test
A simple DIY foil test can distinguish between internal leaks and ambient humidity. Tape a square of aluminium foil over the dampest section of the wall, ensuring you seal all edges tightly with tape. Leave it in place for at least 48 to 72 hours, then inspect both sides of the material.If moisture forms on the room side of the foil, the problem is surface condensation from indoor air. Conversely, if moisture accumulates on the wall side, it indicates an internal source—meaning water is physically travelling through the masonry, either from a pipe leak or from capillary rising damp.
How Do You Differentiate Rising Damp, Leaks, and Condensation?
The symptoms of wet masonry are frequently misinterpreted, leading to unnecessary and ineffective structural treatments. Misdiagnosis is a particular risk in specific geographic contexts where traditional capillary damp is statistically less common.
On Lanzarote in the Canary Islands (Spain), for example, the dry climate means rising damp is significantly less common than in the UK or northern Europe. While it can occur in older island properties that lack a proper damp-proof course, the most common cause of damp walls seen by local surveyors is instead a hidden water leak, often originating from a pipe running through or behind the wall.
Comparing Damp Profiles
| Condition | Typical Visual Signs | Primary Mechanism |
|---|---|---|
| Condensation | Black mould, surface moisture | Airborne vapour condensing on cold surfaces |
| Pipe Leaks | Localised wet patches at any height | Pressurised water escaping from plumbing |
| Rising Damp | Tide marks frequently around 1 metre but sometimes higher, salt deposits | Groundwater drawn upward via capillary action |
Assuming a wet ground-floor wall requires a chemical injection without ruling out a leaking pipe is a common failure point in property repair. The foil test confirms the water is coming from behind the plaster, but it cannot differentiate between groundwater and plumbing failures. If the property sits in a dry climate where natural groundwater is scarce, the probability heavily shifts toward an infrastructural defect rather than a foundational one.
How Do Professionals Rule Out Plumbing Failures?
When a wall fails the foil test by showing moisture on the masonry side, professional contractors must eliminate plumbing leaks before treating the foundations. Modern diagnostic tools allow specialists to locate internal water sources without systematically destroying the plasterboard to track a pipe.
Non-Destructive Imaging
Thermal imaging locates hidden pipe leaks by detecting temperature anomalies within the building fabric. Because escaping water creates temperature differences in the surrounding masonry, these thermal shifts become clearly visible on thermal cameras, pinpointing the location of a burst joint or fractured line without removing a single brick.Auditory Leak Tracing
When thermal variations are too subtle, specialists rely on auditory equipment. Acoustic detection uses sensitive microphones to hear water escaping from pipes through walls and floors. By amplifying the sound of pressurised water exiting a micro-fracture, technicians can trace the path of the plumbing failure.Once acoustic and thermal inspections confirm the plumbing infrastructure is completely intact, property owners can more confidently attribute a characteristic low-level tide mark to genuine groundwater intrusion.
Why Capillary Action Damages Masonry: The Role of Ground Salts
Once pipe leaks and condensation are definitively ruled out, the reality of rising damp must be addressed. This specific form of moisture intrusion is fundamentally different from a clean water leak due to the mineral salts it carries upward into the home.
Rising damp carries mineral salts directly from the soil. As the groundwater travels through the porous foundation, it dissolves these ground salts and deposits them inside the wall's plaster.
The Crystallization Effect
When the water eventually evaporates from the interior wall surface, the transported mineral salts are left behind. These salts crystallize within the pores of the building materials, contributing to the deterioration of wall coverings.This continuous cycle of saturation and crystallization degrades the structural integrity of the wall coverings. If not treated, this cycle can cause expensive damage to interior plaster, decorative paint, and wallpaper.
When Is a Chemical DPC Injection the Right Fix?
To stop groundwater from migrating upward, the capillary network within the masonry must be physically or chemically severed. In older buildings constructed without a modern damp-proof course—or where the original physical barrier has failed—a new barrier must be retrofitted into the base of the wall.
The Chemical Injection Process
Modern remediation relies on specialised hydrophobic formulations to block moisture paths. The treatment consists of drilling small perforations in the wall directly at ground level. Technicians then inject a hydrophobic cream DPC into these targeted holes.Once inside the masonry, the cream expands inside the building materials. As it cures, it lines the pores of the brickwork and mortar with a water-repellent barrier, effectively forming a horizontal layer against water rising from the earth.
This targeted chemical intervention is designed to stop capillary action. However, its targeted nature underscores the importance of the initial diagnostic phase. Injecting it into a wall suffering from a descending pipe leak or poor room ventilation will yield zero results, highlighting why accurate identification is paramount.
How Should You Clean Up After Treating Damp?
After the rising damp has been successfully blocked with a chemical DPC, or a hidden leak has been permanently sealed, the visual damage left behind must be addressed. Property owners often rush to paint over dried watermarks and surface mould, but improper restoration guarantees future peeling.
Sequential Restoration
Strict adherence to environmental guidelines prevents subsequent decorative failures. According to standard building remediation practices, the water or moisture problem must be completely fixed before the mould cleanup or remediation can be considered finished. Attempting to scrub plaster while the wall is still drawing moisture from the ground or a leaking pipe is entirely futile.Cosmetic Application Warnings
Once the structural moisture source is eliminated, the surface requires meticulous preparation. Industry best practices are clear: do not paint or caulk mouldy surfaces. Instead, the surface must be cleaned and fully dried before any painting takes place.Because paint applied over mouldy surfaces is likely to peel, skipping the sterilization and drying phase compromises the entire restoration effort, leading to flaking masonry even after the underlying damp issue has been structurally cured.
Conclusion
Evidence-based maintenance shifts how property owners manage structural water intrusion. As diagnostic tools become more accessible, the reliance on visual assumptions is rapidly fading in favour of verifiable data. Taking the time to prove a wall's moisture source fundamentally alters the financial trajectory of home preservation. When homeowners prioritize acoustic, thermal, and baseline moisture testing over immediate cosmetic fixes, they eliminate the financial drain of misapplied treatments and ensure their property's masonry is protected by the correct structural solution.